Step by step installation

Placing Piste on your vehicle
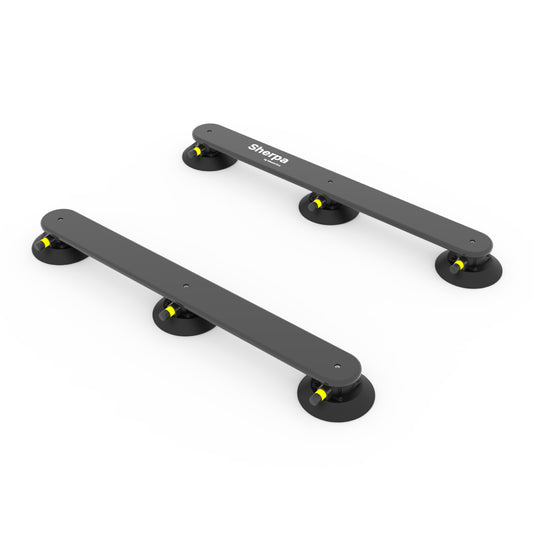
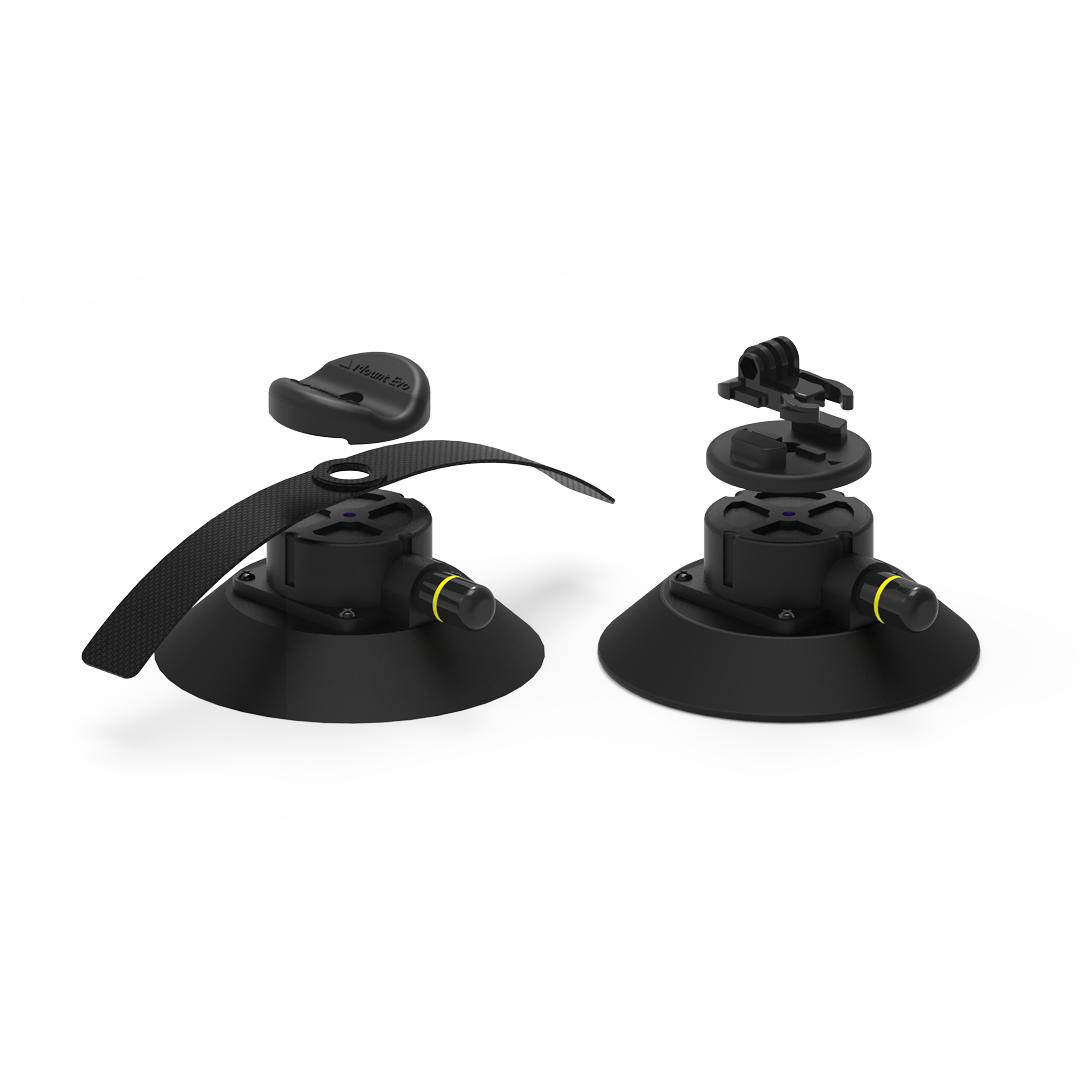
Take both Piste mounts with vacuum cups attached and place on the roof of the car width ways. Space the mounts accordingly for the skis/board you’ll attach to Piste. Bear in mind the shape/size of the skis and where you can position Piste on the car when doing this step.

Fixing Piste to your vehicle
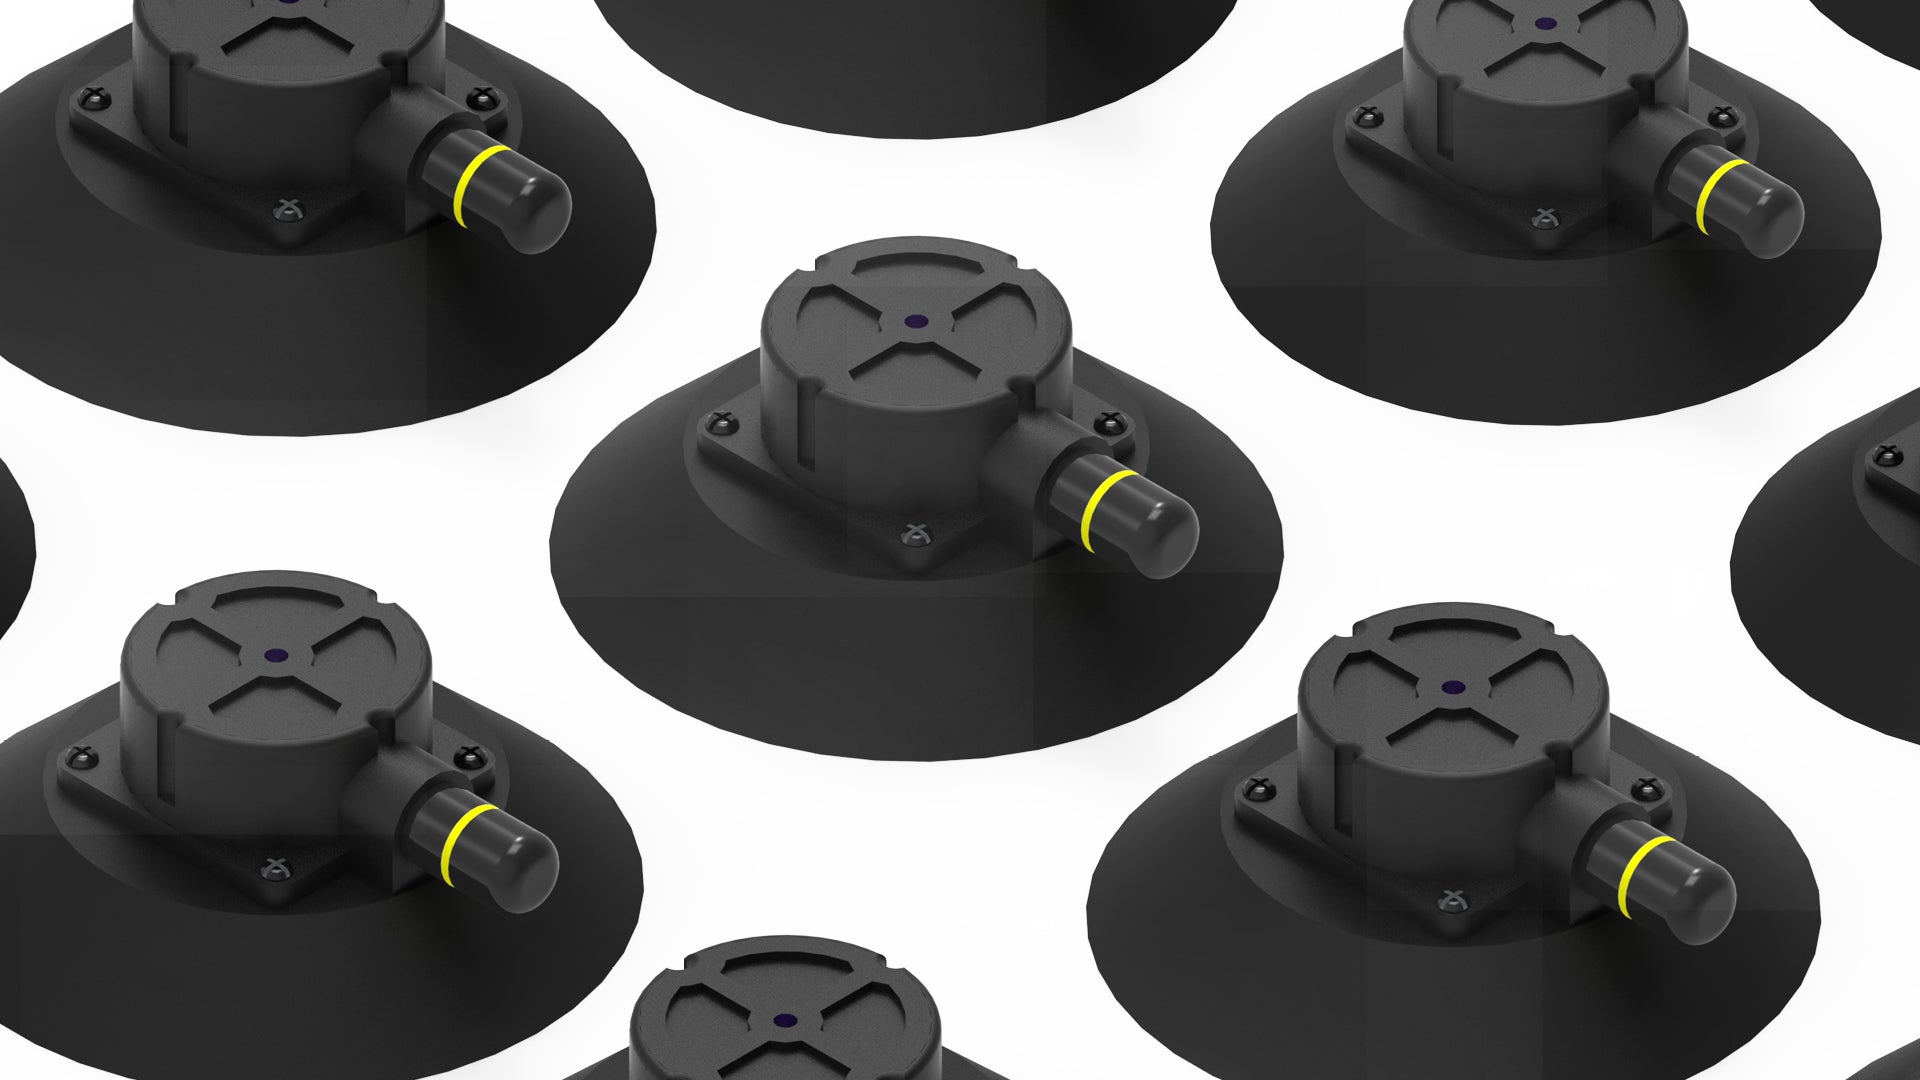
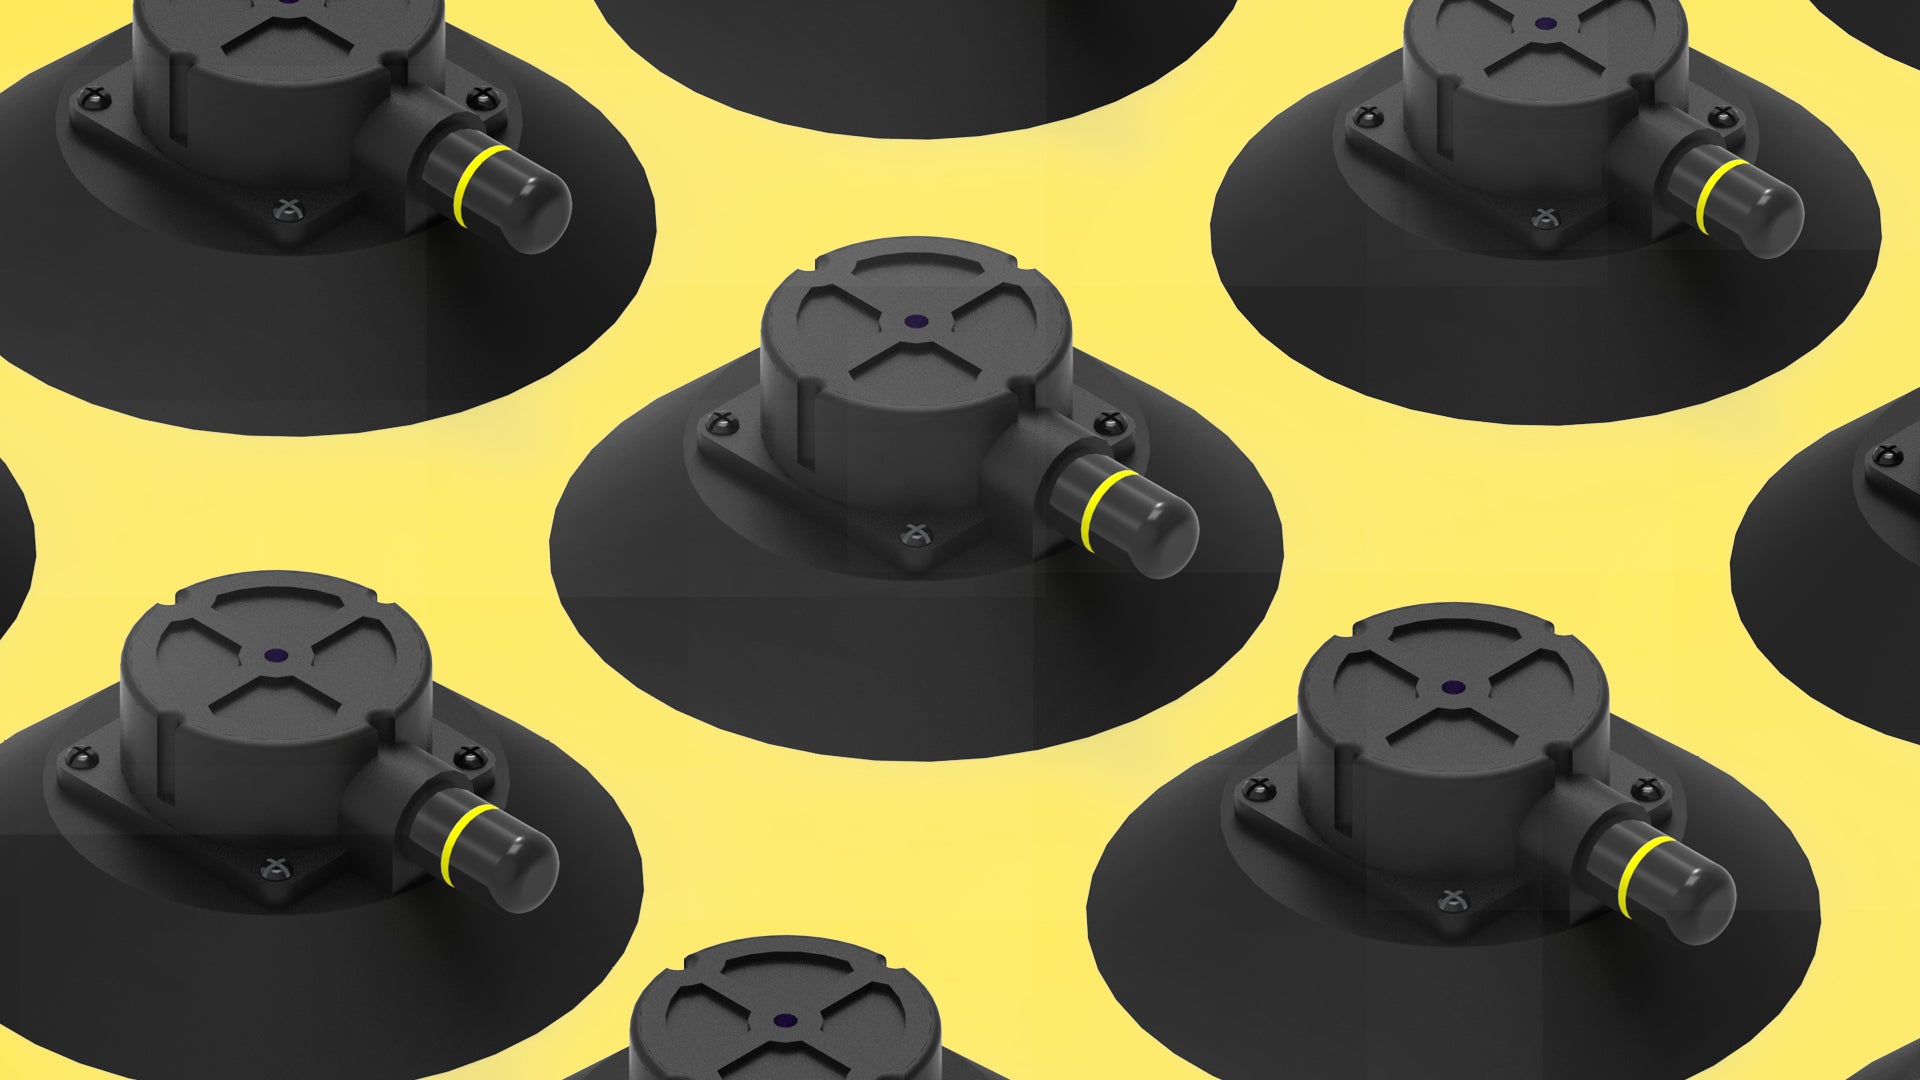
Now Piste is positioned appropriately for the skis and vehicle we can fix Piste to the car. To do this, pump the plunger on the side of each vacuum cup. Once the yellow band on the plunger is no longer visible, the vacuum cup is secure. Repeat this with all 4 vacuum cups.

Placing your skis/board on Piste
Release the upper arm of Piste by pressing the button at one end. You can lift the arm and place your skis/board on Piste. When resting it needs to be balanced evenly between the two Piste mounts. Your board should be facing forwards and in the direction of travel of the vehicle.

Fixing your skis/board to Piste
With the skis in place on Piste it is time to secure them. Pull down the upper arm and lock in place. This should have a firm click to tightly secure your skis/board. There will be 3 clicks for the different stages of the latch. Each click is a tighter setting. There should be no movement between the skis/board and Piste. Use the provided key to ensure your skis are locked in place.
How to remove Piste

Remove your skis/board
Press the button on the upper arm of each mount to release your skis/board. The loaded skis will be free to remove.

Remove Piste
Pull upward on the lift tab of each vacuum cup. This will release the vacuum and allow you to remove Piste from the vehicle.
Transport your equipment.
-
Solo Bike Rack
Regular price €329,99 EURRegular priceUnit price per -
E-Solo Electric Bike Rack
Regular price €459,99 EURRegular priceUnit price per -
Duo Bike Rack
Regular price €479,99 EURRegular priceUnit price per -
Sherpa Multipurpose Rack
Regular price €479,99 EURRegular priceUnit price per